
Key Takeaways
Starting Point, Not Finish
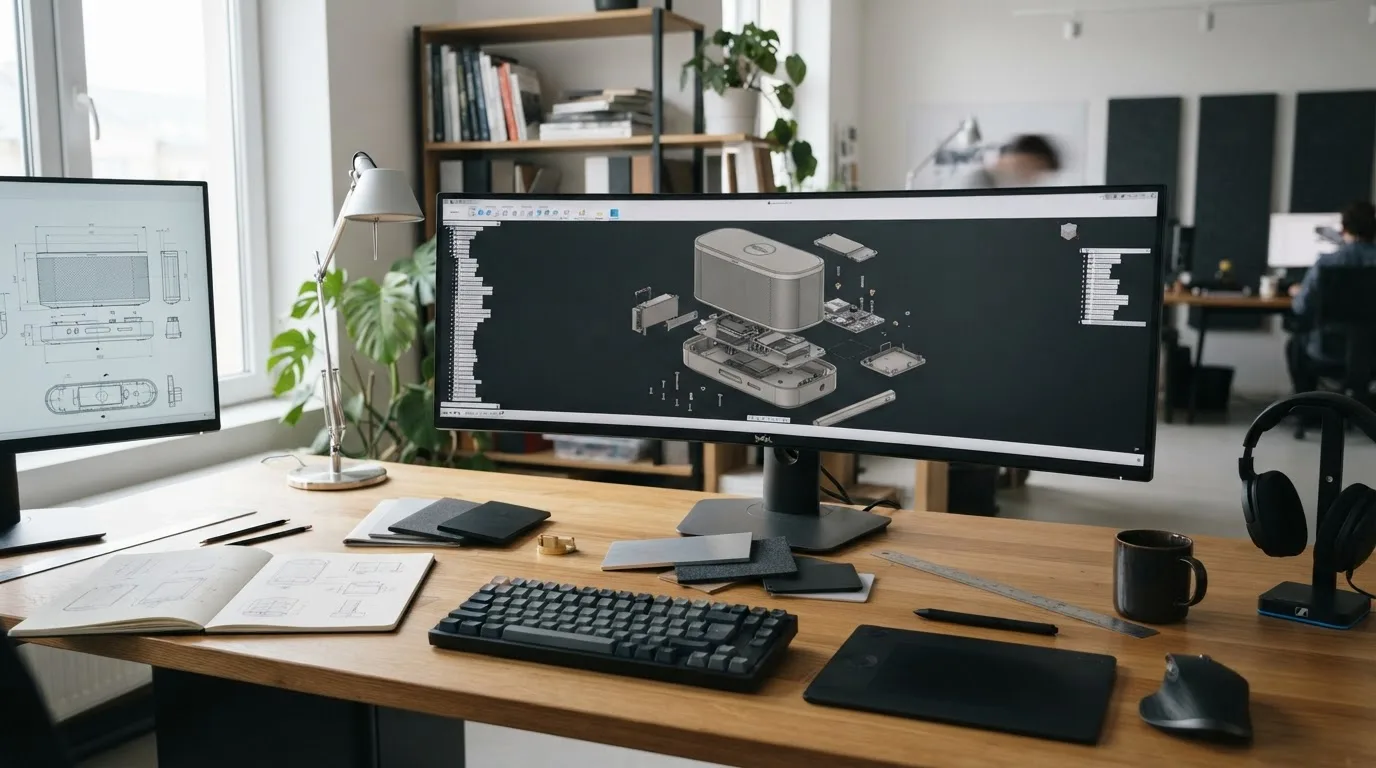
A CAD file is the starting point for a 3D render, not always the finished visualization asset.
Clean, Reliable Data
Clean geometry, reliable dimensions, correct orientation, material references and clear part names reduce clarification rounds.
STEP Files Work
STEP files can preserve accurate product shape, but they usually still need conversion, cleanup, materials and scene direction.
Write a Clear Brief
A structured brief should define products, SKUs, variants, image types, camera views, lifestyle scenes and delivery requirements.
One Model, Many Outputs
A prepared 3D model can support hero images, lifestyle renders, animation, 360 spins, AR and Web 3D assets.
Package Files Clearly
Numbered folders, dimensioned drawings, product photos and a short list of known issues help the studio start without guessing.
Table of Contents
Engineering CAD vs. Rendering-Ready Data
If you are learning how to prepare CAD files for 3D rendering, the main goal is to give the artist enough reliable information to rebuild or clean the product without guessing. A CAD file is the starting point, not always the finished asset.
Engineering CAD is built for manufacturing, tolerances and product development. Rendering needs clean visible surfaces, correct proportions, realistic edge behavior, material assignment and efficient scene construction.
Engineering files often contain geometry that is too heavy or organized for visualization, open surfaces, gaps, duplicate faces, hidden construction elements, missing material assignments, internal components and placeholder parts that must be replaced before visualization.
What Rendering-Ready Geometry Includes
- Correct scale, or clearly documented dimensions.
- No visible gaps or unintended overlaps.
- Correct orientation.
- All externally visible components.
- Separate parts wherever materials, colors or movement differ.
- A clear naming structure.
Cleanup may still be needed even when you supply a complete model. The most common types of work are:
- Modeling from scratch: no usable 3D model exists.
- CAD cleanup: usable geometry needs repair, simplification or preparation.
- Model conversion: the model must be exported into a format that suits a specific workflow or deliverable.
At 3Devision, we work with manufacturer CAD, and CAD cleanup is part of our modeling workflow. Sending STEP files for rendering is a common starting point, and the format is covered below.
What Files Are Needed for 3D Rendering?
The ideal package depends on the product and the deliverable. These are the inputs that help most.
3D Geometry Files
3Devision accepts DWG, DXF, STEP, OBJ, STL, FBX, 3DS and GLB. Each format has a typical role:
- DWG/DXF: technical CAD drawings and dimensional references.
- STEP/STP: engineering CAD exchange files with solid or surface geometry; see the dedicated section below.
- OBJ: polygonal mesh exchange, often with separate material or texture files.
- STL: a basic geometry reference that usually carries no rich materials or scene data.
- FBX: exchange of scene or animation-ready 3D data.
- 3DS: a legacy exchange format that may need extra cleanup.
- GLB: a compact format for web or AR assets, but not always the best source for high-detail product rendering.
Format alone does not determine quality. Geometry, scale, missing parts and reference information matter more.
Technical Drawings and Dimensions
Drawings let the artist check that the 3D model matches the production product. Include:
- Overall height, width and depth.
- Front, side, top and rear views where relevant.
- Section drawings for complex assemblies.
- Product thicknesses and hole locations.
- Gaps, clearances and installation dimensions.
Drawings matter most for vanities, bathtubs, faucets, shower systems, kitchen cabinets and islands, office furniture and workstations, and doors, windows and hardware.
Product Photographs and Visual References
Photos resolve details that CAD cannot show: surface texture, gloss level, brushed or polished metal direction, wood grain, fabric weave, edge profiles and color differences between parts.
Send JPEG, PNG or TIFF files containing:
- Overall product photos.
- Close-ups of materials and finishes.
- Hardware, seams, joints and controls.
- The product installed or assembled.
- Links showing how the product is presented publicly.
Photos are references. They do not dictate the final rendering style.
Material, Color and Finish Information
An artist needs to know how light interacts with the surface, not only the color. Provide:
- Manufacturer color names and codes, plus RAL, Pantone or other references.
- Material samples or close-up images.
- Finish descriptions: matte, satin, polished, brushed, textured or distressed.
- Direction of wood grain, tile pattern or brushed metal.
- Which components share a finish.
- Which finishes exist as product variants.
For example:
- A brushed faucet needs directional metal grain.
- A glossy bathtub needs controlled reflections and correct roughness.
- A wood vanity needs grain direction, color variation and edge treatment.
- Wall panels and tile need repeat scale and seam information.
Sketches and Incomplete Product Information
3Devision also accepts PDFs, sketches, product links and photos. Sketches can be enough for an early visualization or a pre-manufacturing prototype. Add as much dimensional and material information as you can, along with a clear design direction.
The 5-Step CAD Preparation Checklist
1. Remove Unnecessary Construction Data
Remove or clearly separate:
- Hidden internal geometry.
- Temporary construction surfaces and unused reference planes.
- Duplicate bodies.
- Suppressed components that should not appear.
- Manufacturing features that will not be visible.
Keep an untouched master copy. Send 1 clean export for rendering, 1 original file for reference if the studio needs to inspect the construction, and a short note on any intentionally omitted components.
2. Check Geometry and Visible Surfaces
Inspect the model for:
- Open edges and holes.
- Reversed normals.
- Intersecting or floating parts.
- Missing caps.
- Incorrectly merged parts.
- Unrealistically sharp edges.
Most manufactured products have small, real bevels. Perfectly sharp digital edges do not catch light naturally. However, the artist should not invent a bevel where your real product has a sharp edge or a different profile. Mark any areas where the CAD is intentionally simplified.
3. Confirm Scale and Orientation
State the units, overall dimensions, direction of up, front, rear and side orientation, and whether the model is assembled or disassembled.
Wrong scale affects camera distance, product proportions in a room, furniture placement, water or moving-part simulations and camera animation. Add a dimensioned PDF even when the 3D file looks complete.
4. Organize Parts and Name Variants
Replace generic names such as Body001 or Part_23 with descriptive ones:
vanity_bodyfront_panelbrass_handleglass_door_leftstone_top
Separate parts matter when a component changes color, a finish differs between SKUs, a product opens or rotates, or the studio must build several configurations.
Add a variant table with SKU number, dimensions, shared parts, different parts, available colors and finishes, and images required per variant.
5. Decide What to Model and What to Texture
Geometry should carry shape-changing and silhouette-critical details. Textures can carry surface variation, fine grain and small patterns. The decision depends on camera distance, final resolution, product scale in the frame, required close-ups and whether the product will be animated or used in AR.
- A deep cabinet profile should be modeled.
- Fine wood variation can be a texture.
- A visible seam needs geometry if it affects the silhouette or casts a shadow.
- A faucet handle that moves should be separate geometry.
From our studio: “The clearest projects usually begin with 3 things: a usable product model, reliable material references and a short list of the images the product needs.”
STEP Files for Rendering: When They Help and What You Still Need
A STEP file is an engineering CAD exchange file that transfers solid or surface geometry between CAD systems.
Strengths
- It can preserve accurate product shape.
- It suits manufactured parts and assemblies.
- It can beat a low-resolution mesh when the product has precise curved or mechanical surfaces.
Limits for Visualization
- It typically contains no finished photorealistic materials.
- It does not communicate camera angles.
- It does not define a lifestyle interior.
- It may lack labels, decals, textures and color decisions.
- It may need conversion and cleanup before rendering.
STEP Submission Checklist
- Include the STEP file.
- Add a PDF with overall dimensions.
- Add product photos or material references.
- Identify the visible product configuration.
- List missing or suppressed parts.
- State whether the file is a prototype or production version.
- Confirm which components belong in the final render.
What to Include in a 3D Rendering Brief
A 3D rendering brief explains what must be visualized, how it should look, where it will be used and what the studio must deliver. It does not need to be long. It needs to remove decisions that would otherwise force assumptions.
Company and Project Overview
- Company name, product category and project contact.
- Target market and launch or publication date.
- Confidentiality status.
- Use case: manufacturer launch or update, retailer needing unique visuals, marketplace listing, catalog, website or presale presentation.
Product and SKU Information
- Product names, SKU numbers and number of products.
- Dimensions and variants.
- Shared components and different materials or finishes.
- Model status: final, revised or in development.
SKU count matters because several products can share a scene, reducing repeated scene work. The workflow is most cost-effective when several SKUs share scenes; single products can start with a trial SKU. A typical project covers 3–5 SKUs in 1 category.
Required Image Types
- Hero or silo images and white-background shots.
- Detail close-ups.
- Lifestyle images.
- Multiple configurations.
- Assembly or installation views.
- 360 spin, product animation, AR or Web 3D assets.
Hero or silo shots are controlled product images on a plain or white background. Lifestyle renders place the product in a designed environment. Product animation shows use, features, components or camera movement.
Camera Views and Composition
Specify angles, vertical or horizontal orientation, product position in the frame, cropping, close-up areas, and whether the product appears open, closed, installed or in use. Attach references or mark views on drawings.
“Make it look premium” is not direction. Define light direction, camera height, background style, how much environment is visible and how prominent the product is.
Lifestyle Scene Direction
Describe the room type, architectural style, color palette, surface materials, furniture and props, customer context, mood and any seasonal requirements.
- A modern bathroom for a vanity, faucet, bathtub or shower system.
- A commercial office for workstations, seating or partitions.
- A kitchen for cabinets, islands, sinks or range hoods.
- A hospitality or outdoor setting for suitable furniture.
The product stays the visual priority. The environment should support its form and finish.
Our priority service is a precise 3D product placed into a unique AI-assisted interior. Our artists control the product geometry, and AI is a tool for scene development. New unique lifestyle scenes are produced about 2x faster with our AI-assisted workflow.
Brand and Visual References
Share brand guidelines, catalog images, website links, client-supplied category references, approved fonts and colors, and images you consider successful. Label each reference Match closely, Use for general mood or Do not copy. References set direction. They do not replace product data.
Technical Delivery Requirements
List file format, image dimensions, resolution, transparent or solid background, color space if your sales channel requires it, naming convention, folder structure and delivery date.
3Devision delivers JPG and PNG with transparency up to 8 MP, MP4 video up to 4K, and GLB/USDZ for AR on request. These are our delivery capabilities, not universal marketplace requirements.
3D Rendering Brief Requirements by Deliverable
Hero or Silo Images
Specify background, whether white, transparent or colored, angles, product scale in frame, shadow style, accessories and whether the product is shown assembled.
For Amazon, the main image rules from Amazon Seller Central are:
- Pure white background (RGB 255, 255, 255).
- Product fills about 85% of the frame.
- At least 1,000 pixels on the longest side for zoom; 1,600 pixels or more recommended.
- Only the product being sold, with no text, logos, watermarks or unrelated props.
- JPEG, PNG or TIFF.
The category style guide in Seller Central takes precedence.
Lifestyle Rendering
Provide room type, product placement, number of scenes, images per scene, camera views, material and color priorities, and whether the room must support multiple SKUs.
Pricing follows a model → scene → images structure. The model is created once per SKU, and the scene is created once. Additional images from the same scene cost less than a new scene, so more images per shared scene lower the effective cost per image. See the 3D rendering cost breakdown for how this works.
Product Animation
Specify duration, platform, aspect ratio, product actions, camera movements, feature close-ups, sound or music and final resolution.
Our product animation is a promo-style video showing the product in use with atmosphere and context. Typical actions are water flowing, doors opening, fly-arounds, close-ups and transitions into a lifestyle scene. Clips run 3–6 seconds with 2K keyframes and combine into 15–40 seconds. We use a hybrid 3D and AI image-to-video workflow for camera control and product consistency. Typical turnaround is 3–4 days.
How to Package the Files Needed for 3D Rendering
Use a folder structure like this:
01_CAD02_Drawings_Dimensions03_Product_Photos04_Materials_Finishes05_Brand_References06_Rendering_Brief07_Variants_SKU_List
Use clear filenames:
SKU123_vanity_body.stepSKU123_dimensions.pdfSKU123_brushed_brass_reference.jpgproject_rendering_brief.pdf
Add a version number and date to revised files. Mark the latest approved version and avoid mixing old and new geometry.
Include a short known issues list covering missing details, temporary geometry, unconfirmed materials, parts that may change and areas where the studio should ask before proceeding.
If your CAD package is incomplete, send product links, photos, sketches and PDFs. The project can still be assessed from these.
What Happens After You Submit Your 3D Rendering Brief
- We review the product data and brief.
- We identify missing information and technical questions.
- We confirm scope, deliverables and timeline.
- We create or clean the product model.
- We develop materials and finishes.
- We build the scene or camera setup.
- You review preview renders.
- We finalize and deliver approved images or videos.
We work in English and reply within 24 hours. Typical turnaround:
- 3D model: 1–2 days.
- Hero set: 1–2 days.
- Lifestyle rendering: 3–5 days.
- AI concept drafts: 24–48 hours; AI final: 3–5 days.
- Product video: 3–4 days.
- 25-SKU catalog: 2–3 weeks.
Timing depends on how complete your inputs are, the SKU count, revision scope and deliverable type. This is where knowing how to prepare CAD files for 3D rendering pays off in practice.
Terms:
- 20% upfront, 80% after delivery.
- We work until the result is approved.
- Scope changes over 70% are quoted as a new project.
- Free fixes for 90 days after delivery and full payment.
- Urgent projects are delivered on time or free, with prepayment or a 20% rush surcharge.
We offer full NDA protection for proprietary designs, product roadmaps and data. We keep client information confidential and never publish it.
Why a Clear 3D Rendering Brief Matters at Catalog Scale
For a US walk-in tub manufacturer, we rebuilt 16 models, created 48 bathroom interiors and produced 1,000+ lifestyle renders. Automation cut rendering time by 40%, and website engagement rose 25%.
The lesson for file preparation is organization. A project at this scale depends on:
- A model and variant structure that stays organized across SKUs.
- Shared bathroom scenes that serve several products.
- A brief that defines which products belong in which scenes.
- Consistent material and camera instructions across the catalog.
These results do not come from file preparation alone. The case shows what becomes possible when modeling, scene planning and production are organized together. Read the full case study.
Reusing Accurate 3D Assets Beyond 1 Render
A prepared model keeps working after the first delivery. It can support:
- New hero images and additional lifestyle scenes.
- Product animation and assembly or installation animation.
- 360-degree spins.
- AR or Web 3D assets.
- Product configurator work.
We export FBX files of paid models to clients for free, provide 3D source files on request and archive all assets for 2 years. You own the final images. Portfolio use is agreed with you. A complete 3D rendering brief written once makes each later request faster to scope.
Why Product Visuals Matter
These figures show why usable visuals deserve preparation time. They do not replace the file and brief work above.
- Salsify’s 2025 consumer research found that 77% of shoppers rate product images and videos as very or extremely important to completing a purchase.
- Shopify reported that merchants adding 3D content saw a 94% average conversion lift. This is a lift, not proof that 3D alone caused it.
- Industry benchmarks cited by Digital Camera World put CGI roughly 65–85% below comparable photo shoots. This is a benchmark, not a guaranteed saving.
- IKEA stated as early as 2014 that about 75% of its product images were CGI.
Final Pre-Submission Checklist
Copy this into your handoff. It covers how to prepare CAD files for 3D rendering, what files are needed for 3D rendering and your 3D rendering brief in 1 pass:
- Product CAD or 3D geometry is included, with STEP files for rendering accompanied by a listed-format export or a confirmed studio compatibility check.
- File format and units are identified.
- Overall dimensions are supplied.
- Product orientation is clear.
- Visible parts are included.
- Unnecessary construction geometry is removed or explained.
- Parts and variants are named.
- Materials, colors and finishes are documented.
- Product photographs or close-ups are attached.
- Technical drawings or PDFs are attached.
- Required image views are listed.
- Lifestyle scene direction is described.
- Final formats and resolutions are listed.
- SKU count and delivery deadline are confirmed.
- Confidentiality requirements are stated.
- The latest approved file version is marked.
Missing 1 file does not always stop a project. Unclear geometry and unclear visual direction usually create avoidable review rounds.
Next Step
To recap how to prepare CAD files for 3D rendering: clean the geometry, supply dimensions and material references, and describe the visuals in a structured 3D rendering brief. Identify SKUs, variants, scenes and delivery requirements before production starts.
Free sample for brands with 3+ SKUs: send a link to 1 product from your work email through the free sample form. We will study your brand and deliver 3 lifestyle images or a 10-second product video within 5 business days. No brief or call is required. You can use the result anywhere, and we may feature it in our portfolio.
Ready to submit a project? Fill in the product visualization brief, email hi@3devision.com or message us on WhatsApp. See our work in the portfolio and case studies.
Frequently Asked Questions
What files are needed for 3D rendering?
The most useful package includes 3D geometry, technical drawings, overall dimensions, product photographs, material and finish references, variant information and a clear rendering brief. Accepted 3Devision inputs include DWG, DXF, STEP, OBJ, STL, FBX, 3DS, GLB, JPEG, PNG, TIFF, PDF, sketches, product links and photos.
Are STEP files suitable for rendering?
STEP files can be an excellent starting point because they preserve accurate solid or surface geometry. They usually still need conversion or cleanup, material assignments, camera direction, product references and lifestyle scene information. Confirm STEP compatibility with the studio before sending it.
Should hidden geometry be removed from a CAD file?
Remove or clearly separate hidden internal geometry, temporary construction surfaces, duplicate bodies, suppressed components and manufacturing features that will not be visible. Keep an untouched master copy in case the studio needs to inspect the original construction.
Why are product dimensions important if the CAD model is complete?
Dimensions allow the artist to verify scale and proportions. They also affect camera distance, furniture placement, room composition, simulations and animation. Include a dimensioned PDF and state the file units.
What should a 3D rendering brief include?
A strong brief covers the company and project, products and SKUs, variants, required image types, camera views, lifestyle scene direction, brand references, technical delivery requirements, deadlines and confidentiality expectations.
How should CAD parts be named?
Use descriptive names such as vanity_body, front_panel, brass_handle and glass_door_left instead of generic names such as Body001 or Part_23. Clear names make material changes, variant management and revisions easier.
What is the difference between a hero render and a lifestyle render?
A hero or silo render presents the product on a controlled plain, white or transparent background. A lifestyle render places the product in a designed environment, such as a bathroom, kitchen, office, hospitality setting or outdoor scene.
How long does 3D rendering production usually take?
Typical timelines are 1–2 days for a 3D model, 1–2 days for a hero set, 3–5 days for lifestyle rendering, 24–48 hours for AI concept drafts, 3–5 days for an AI final, 3–4 days for product video and 2–3 weeks for a 25-SKU catalog. Timing depends on input quality, SKU count, revisions and deliverable type.
Can an incomplete CAD package still be used?
Yes. Product links, photographs, sketches and PDFs can help the studio assess or develop the project when the CAD package is incomplete. The more dimensional, material and visual information you provide, the fewer assumptions will be required.
